How to Fix Contigo Water Bottle Lid Quickly & Easily
To fix a Contigo water bottle lid, try tightening the lid or replacing the sealing ring. A Contigo water bottle is a convenient and eco-friendly way to stay hydrated on the go.
However, sometimes the lid may become loose or damaged, leading to leaks or difficulty in opening and closing. Luckily, fixing a Contigo water bottle lid is a simple process that can be done at home with a few easy steps.
Whether you need to tighten the lid to prevent leaks or replace the sealing ring for a better seal, these solutions will have your Contigo water bottle working like new in no time. Follow these tips to keep your Contigo water bottle in top condition for all your hydration needs.

Preparation
Before fixing your Contigo water bottle lid, proper preparation is essential. This step ensures a successful repair without causing further damage.
Gather Necessary Tools And Materials:
- Screwdriver
- Clean Cloth
- Replacement Lid Parts
Ensure Each Heading Adheres To Html Syntax:
- Open the required post or page in WordPress editor.
- Switch to the HTML view to input the H3 headings within the appropriate structure.
Cleaning The Lid
Clean the Contigo water bottle lid by detaching it and washing it with warm, soapy water. Make sure to dry it thoroughly before reattaching it to avoid leaks. Regular cleaning helps maintain the lid’s functionality and ensures a hygienic drinking experience.
Removing Dirt And Debris
1. Unscrew the lid and gently tap to remove loose particles.
2. Clean the lid with warm soapy water and a soft brush.
3. Rinse thoroughly to ensure all debris is removed.
Sanitizing The Lid
1. Prepare a solution of water and vinegar.
2. Soak the lid in the solution for 10-15 minutes.
3. Scrub the lid with a brush to remove any remaining residue.
4. Rinse thoroughly with clean water and dry completely before use.
Inspecting For Damage
When it comes to fixing your Contigo water bottle lid, the first step is to inspect the lid for any damage. It’s crucial to ensure that the lid is in proper condition to prevent leaks and maintain the functionality of the bottle. In this section, we will cover how to inspect the lid for any signs of damage and ensure that it is in proper working order.
Checking For Cracks Or Breaks
Firstly, carefully examine the lid for any visible cracks or breaks. These can compromise the integrity of the lid and lead to leaks. Pay close attention to the edges and hinges of the lid, as these areas are prone to damage. If you notice any cracks or breaks, it’s essential to replace the lid to maintain the effectiveness of the water bottle.
Ensuring Proper Functionality
Next, test the functionality of the lid by twisting it onto the bottle and ensuring a secure seal. Make sure the lid opens and closes smoothly without any resistance. Check that the locking mechanism, if present, engages properly to prevent accidental spills. Additionally, inspect the silicone gasket for any signs of wear or damage, as this component plays a crucial role in preventing leaks.

Credit: www.amazon.com
Repairing The Lid
Learn how to easily repair the lid of your Contigo water bottle with simple steps and common household tools. Follow these quick instructions to fix any issues and extend the life of your water bottle. Keep your bottle functioning like new with these helpful tips.
Repairing the lid of your Contigo water bottle is a simple and cost-effective way to extend the lifespan of your favorite hydration companion. Instead of purchasing a new bottle, you can easily fix common lid issues yourself. In this section, we will explore two common lid-related problems and provide step-by-step instructions on how to resolve them.
Replacing Gaskets Or Seals
Over time, the gaskets or seals on your Contigo water bottle lid may wear out, causing leaks or difficulty in securing the lid tightly. Luckily, replacing these small yet essential components is a straightforward process. To replace gaskets or seals on your Contigo water bottle lid, follow these steps:
- Start by removing the lid from the bottle.
- Inspect the gaskets or seals for any signs of damage or wear. If they appear cracked or deformed, it’s time to replace them.
- Purchase replacement gaskets or seals that are specifically designed for your Contigo water bottle model. These can typically be found online or at a local retailer that sells Contigo products.
- Carefully remove the old gaskets or seals from the lid by gently pulling them out or using a small tool like a toothpick.
- Insert the new gaskets or seals into the corresponding slots on the lid. Ensure that they are fitted securely.
- Once the new gaskets or seals are in place, reattach the lid to the bottle and test for any leaks by shaking the bottle vigorously. If there are no leaks, your lid is now good as new!
Fixing Loose Or Broken Parts
Another common issue with Contigo water bottle lids is loose or broken parts, which can compromise their effectiveness. Here’s how you can fix this problem effortlessly:
- Remove the lid from the bottle.
- Inspect the lid for any loose or broken parts. These may include the latch, hinge, or locking mechanism.
- If the latch or hinge is loose, try tightening any screws or fasteners that are holding them in place. If a screw is missing, replace it with a suitable one.
- In the case of a broken latch, hinge, or another part, check if your Contigo water bottle is still under warranty. If it is, contact Contigo’s customer service to inquire about a replacement lid.
- If your bottle is not covered by warranty or you prefer a DIY approach, you can try fixing the broken part using adhesive glue or a strong adhesive tape. This solution may not be as permanent or reliable as a replacement part, but it can temporarily restore functionality to your lid.
- Allow the adhesive to dry according to the manufacturer’s instructions before reattaching the lid to the bottle.
By following these simple instructions, you can successfully repair the lid of your Contigo water bottle. Whether you need to replace gaskets or seals or fix loose or broken parts, these DIY solutions will help you keep your favorite water bottle in tip-top shape without breaking the bank.
Testing The Lid
Before using your Contigo water bottle, it is essential to test the lid to ensure it is functioning correctly and will provide a leak-free experience. This step-by-step guide will help you test and fix any issues with your Contigo water bottle lid.
Checking For Leaks
1. Fill the bottle: Start by filling your Contigo water bottle with water, ensuring it is filled to the desired level.
2. Close the lid tightly: Securely close the lid of the water bottle, making sure it is tightly sealed.
3. Hold the bottle: Hold the bottle in different positions, such as upright, upside down, and on its sides, checking for any signs of leaks or drips.
4. Inspect the seal: Carefully examine the seal of the lid, looking for any cracks, gaps, or signs of wear and tear that may be causing the leaks.
5. Replace the seal: If you notice any damage to the seal, it is recommended to replace it with a new one. Refer to the Contigo website or contact customer service for replacement parts.
Ensuring A Secure Closure
1. Check for alignment: Inspect the alignment of the lid with the bottle opening. It should fit perfectly without any gaps or misalignment.
2. Clean the threads: Clean the threads on both the lid and the bottle with mild soap and water. This helps to remove any dirt or debris that may interfere with the closure.
3. Secure it firmly: Twist and secure the lid firmly onto the bottle, ensuring it is tightened properly.
4. Test the closure: Give the bottle a gentle shake to test the closure’s effectiveness. If you observe any looseness or hear a clicking sound, it may indicate a need for adjustment or replacement of the lid.
5. Follow manufacturer’s instructions: Refer to the manufacturer’s instructions or the official Contigo website for any specific guidelines on lid closure and maintenance.
Credit: www.evans-mfg.com
Maintenance Tips
Learn how to easily fix the Contigo water bottle lid with these helpful maintenance tips. Keep your bottle in great condition and enjoy a leak-free experience.
Maintenance Tips Maintaining your Contigo water bottle lid is crucial to ensure its longevity and effectiveness. Following these simple maintenance tips will help keep your water bottle lid in top condition, avoiding leaks and preserving the quality of your drink. Regular Cleaning Practices Regular cleaning is essential to prevent mold and bacteria buildup, ensuring your water stays fresh and safe to drink. To clean the Contigo water bottle lid, follow these steps:
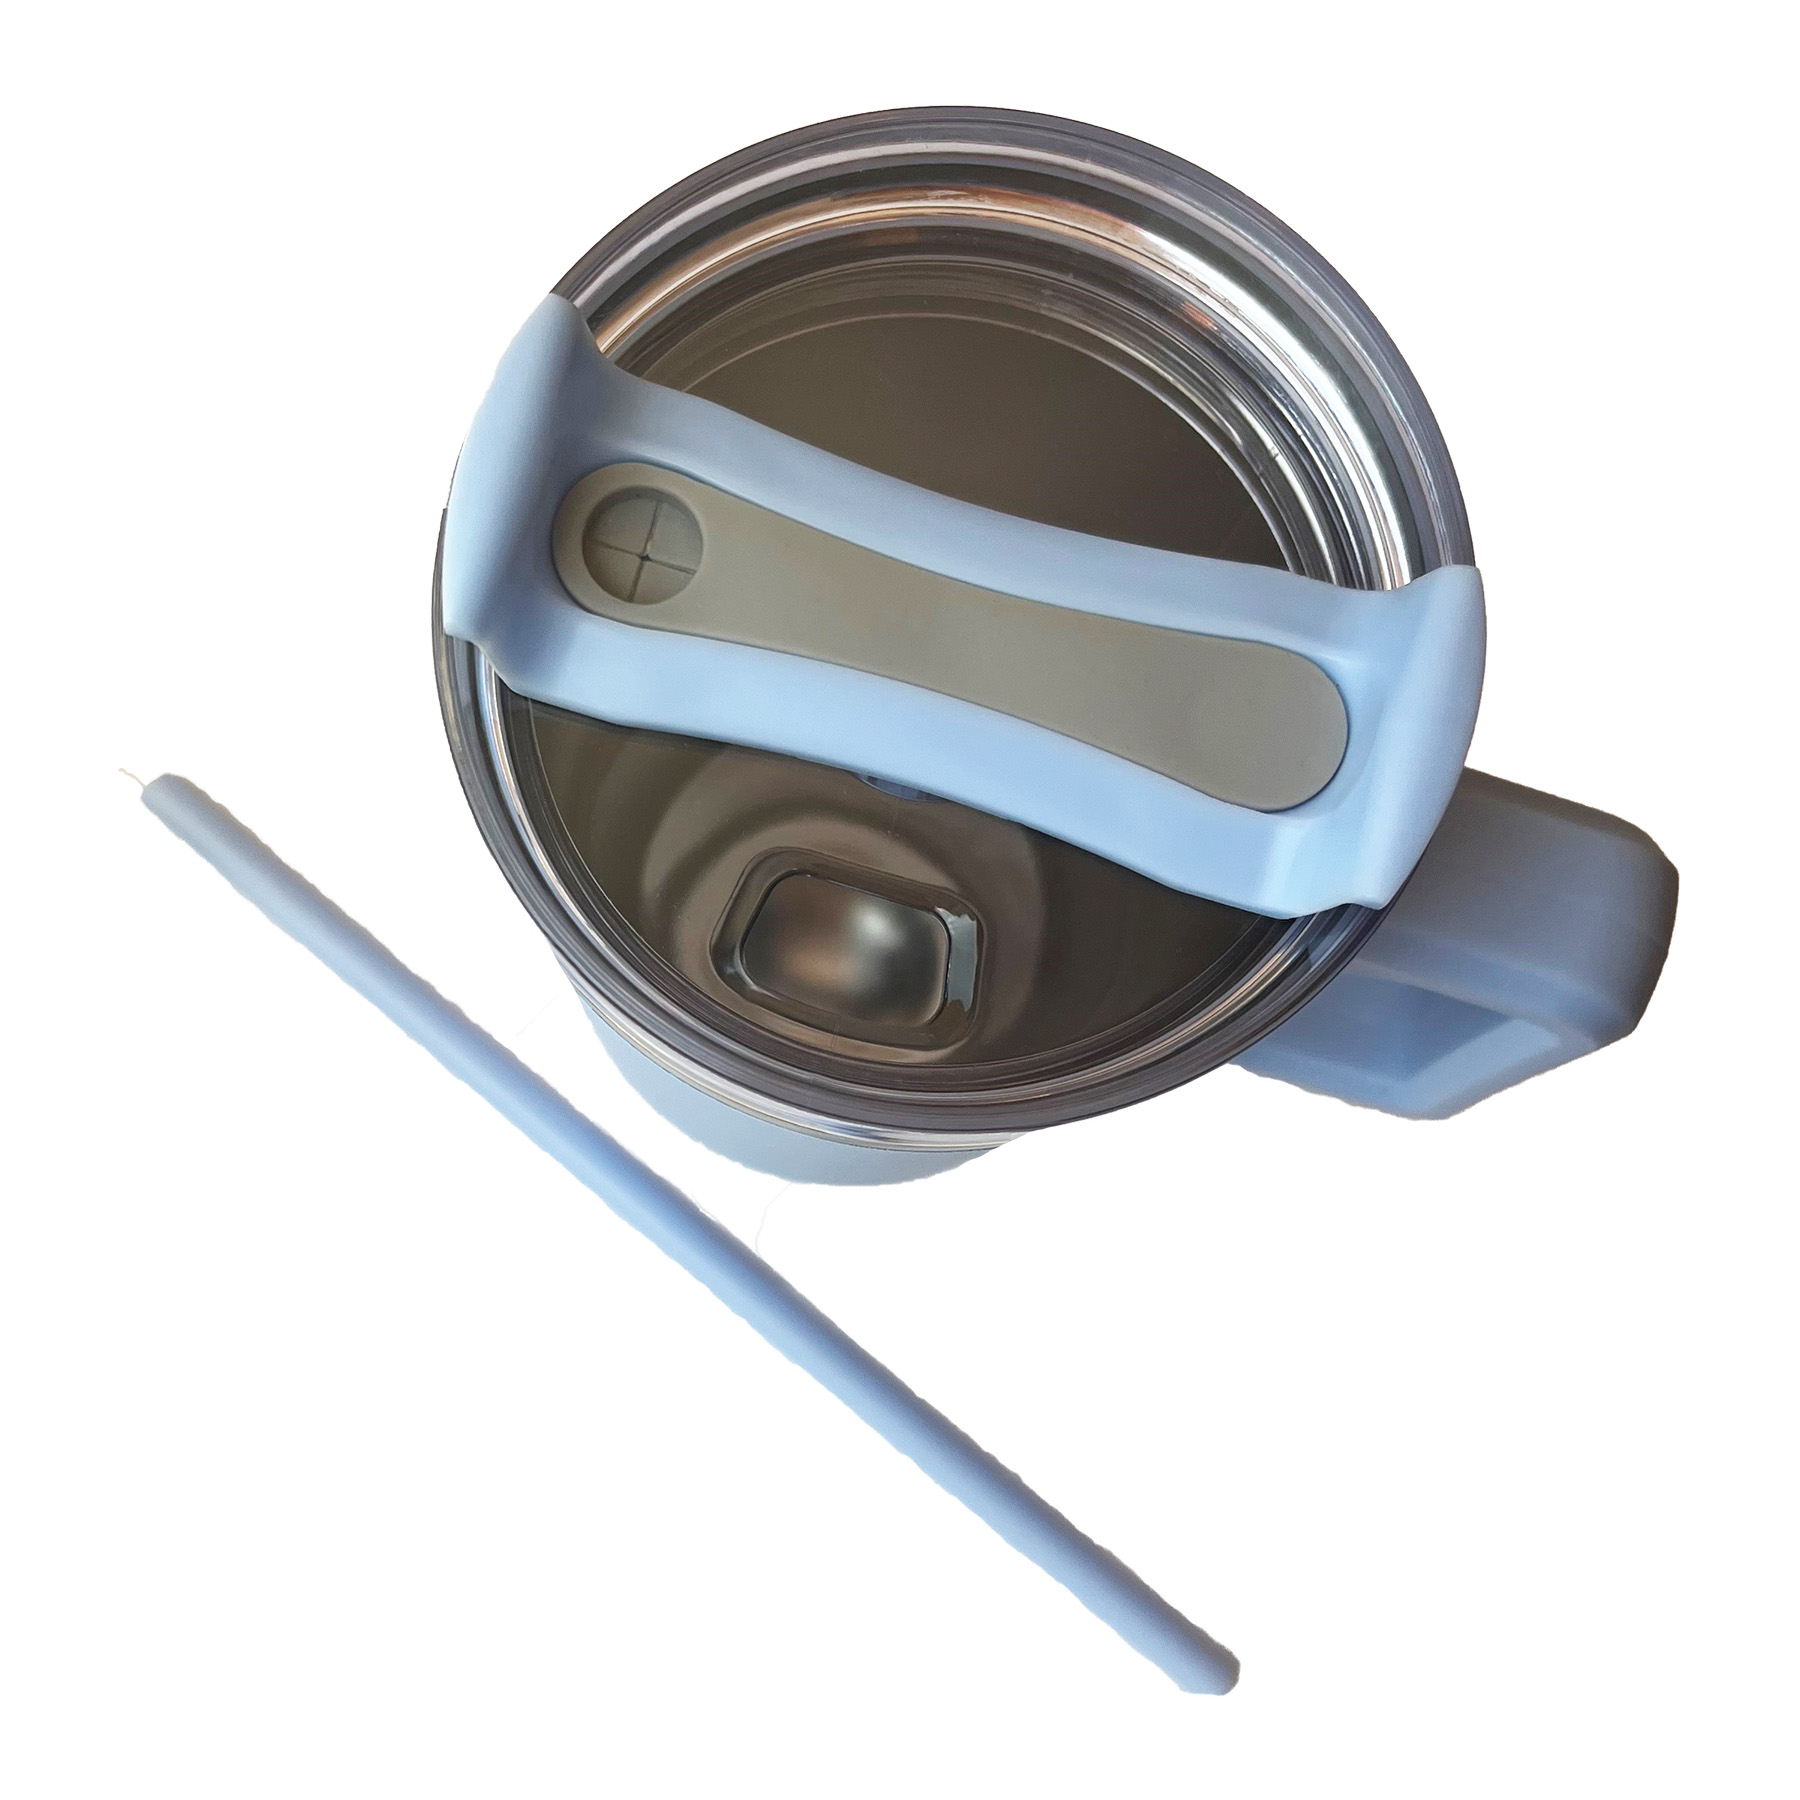
1. Disassembly: Carefully dismantle the lid components, such as the spout, gasket, and straw, if applicable.
2. Rinsing: Rinse all parts thoroughly under warm water to remove any residual liquid or debris.
3. Scrubbing: Use a bottle brush or sponge to gently scrub the interior and exterior of the lid, paying close attention to crevices and hard-to-reach areas.
4. Sanitizing: To sanitize the lid, soak the disassembled parts in a mixture of warm water and mild dish soap for at least 10 minutes before rinsing thoroughly. Proper Lid Care In addition to regular cleaning, proper lid care plays a vital role in maintaining the functionality of your Contigo water bottle.
To ensure proper lid care, keep the following tips in mind:
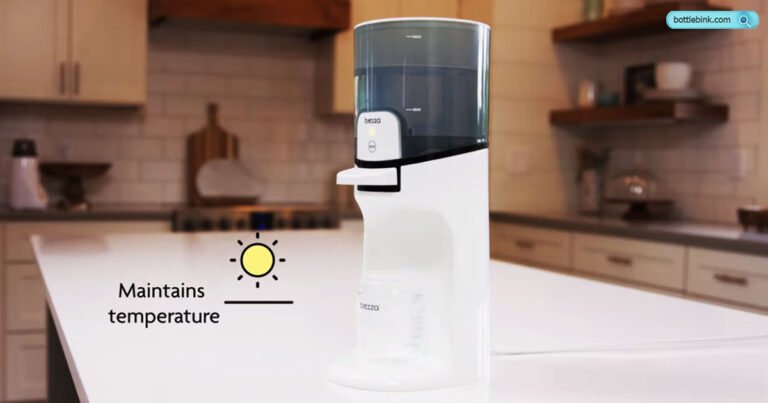
– Avoid Extreme Temperatures: Do not expose the lid to extreme heat or cold, as this can cause damage to the materials and affect the seal.
– Use with Caution: Be gentle when opening and closing the lid to prevent any unnecessary strain on the hinges and locking mechanisms.
– Inspect Regularly: Check the lid for any signs of wear and tear, such as cracks or loose seals, and replace any damaged components promptly.
– Air Drying: After cleaning, allow all parts to air dry completely before reassembling the lid to prevent mold and mildew growth.
By incorporating these maintenance tips into your routine, you can extend the lifespan of your Contigo water bottle lid and continue to enjoy clean, refreshing hydration on the go.
FAQs Of How To Fix Contigo Water Bottle Lid
How Do I Clean My Contigo Water Bottle Lid?
To clean your Contigo water bottle lid, start by disassembling the lid and soaking it in warm, soapy water. Use a small brush to scrub the hard-to-reach areas, rinse thoroughly, and let it air dry completely before reassembling.
Why Is My Contigo Water Bottle Lid Leaking?
If your Contigo water bottle lid is leaking, it could be due to a damaged sealing ring or an improper assembly. Check for any cracks or worn-out parts, and ensure that the lid’s components are properly positioned and tightened to prevent leaks.
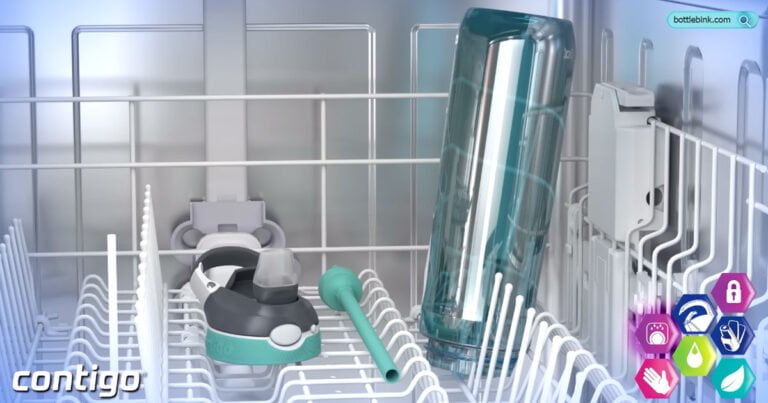
Can I Put My Contigo Water Bottle Lid In The Dishwasher?
Yes, most Contigo water bottle lids are dishwasher safe. Before placing it in the dishwasher, make sure to refer to the manufacturer’s instructions to confirm that your specific lid model is indeed dishwasher safe to avoid any potential damage.
Conclusion
Repairing your Contigo water bottle lid is a simple and cost-effective solution that can prolong the lifespan of your favorite bottle. By following the steps outlined in this guide, you can easily troubleshoot and fix common issues with your Contigo lid.
With proper maintenance, your Contigo water bottle can continue to provide you with reliable, spill-free hydration for years to come.